
Any room in your house may be easily and affordably improved by painting the bedroom door. “How to Paint a Bedroom Door” With the right supplies, a little know-how, and some patience, you can give your door an attractive new look. In this post, we’ll go through the quick and easy procedures for painting a bedroom gate. From preparing the gate for painting to applying the final coat of paint, we will show you how to complete this popular home improvement project with confidence.
What Supplies Do I Need To Paint A Bedroom Gate?
You may personalize and beautify your bedroom without spending a fortune by painting the door. Prior to starting, it’s important to be aware of the materials you’ll need. You’ll need paint. Make sure to choose a high-quality color that is specifically designed for gates and trim. This type of paint will provide better durability and coverage than standard wall paint. You should also consider the color scheme of your room when choosing a paint color for your door.
Here Are Some Tips For How To Paint A Bedroom Door
Step 01- Gather Supplies:(Paint, Primer, Paintbrushes, Rollers, Drop Cloths)
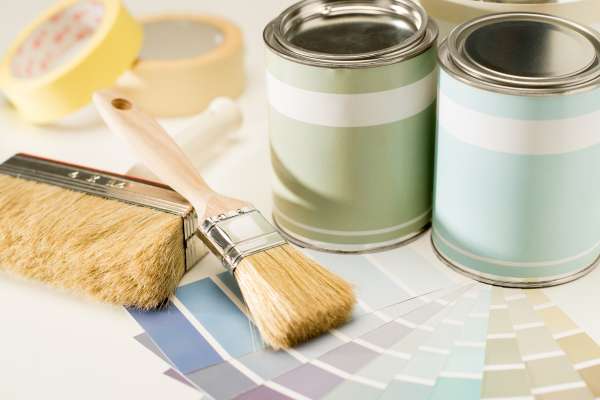
The first step in painting your bedroom gate is to gather all the necessary supplies. You will need paint, primer, paintbrushes, rollers, and drop cloths to protect your floors from any accidental spills. It’s crucial to pick the ideal paint color for your bedroom door before you start painting.
You can either choose a color that complements the existing decor or go for something completely new and bold. You can start preparing your gate’s surface by lightly sanding it after choosing your desired color. Next up is applying a primer which will help ensure better adhesion of the color to the surface of your bedchamber door.
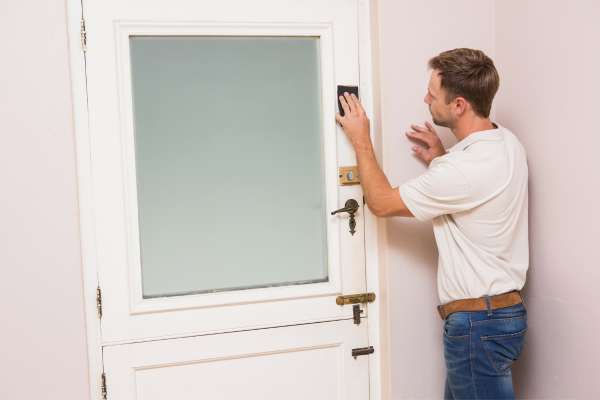
Step 02- Prepare The Door By Sanding It With Sandpaper
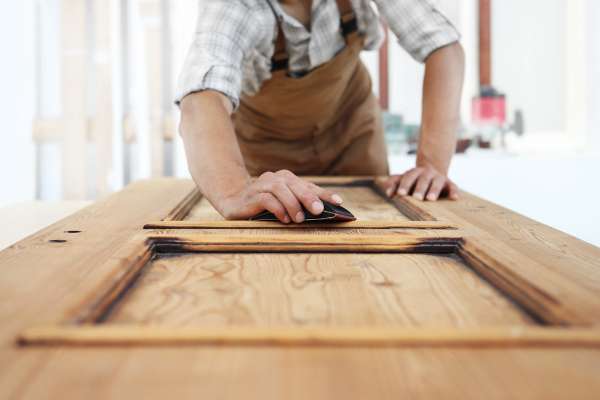
When it comes to painting a bedroom gate, preparation is key. One crucial step in preparing the door for color is sanding it with sandpaper. This procedure not only removes any defects but also makes it easier for the color to stick to the surface.
Gather your materials: sandpaper (medium grit), a sanding block or sponge, and a dust mask. To prevent breathing in any dust particles, put on a mask. Remove any hardware such as doorknobs or hinges, and lay the gate flat on sawhorses or a sturdy work surface.
Starting with the edges of the gate, use your sanding block or sponge to lightly sand away any rough spots or bumps. Move on to sanding the flat surfaces of the door in long even strokes. Pay special attention to areas that have been patched or repaired as they may require extra attention.
Step 03- Use Drop Cloths Or Painter’s Tape To Protect The Surrounding Area

Painting a bedchamber door can be an easy and cost-effective way to update the look of your room. However, it’s important to protect the surrounding area from color drips and splatters. One way to do this is by using drop cloths or painter’s tape.
Drop cloths are large pieces of fabric that you can spread out on the floor or furniture around the gate. They act as a barrier between the color and any surfaces you want to keep clean. Make sure to choose a drop cloth that is thick enough to absorb any spills and won’t tear easily. You can find them at most hardware stores or online.
Painter’s tape is another option for protecting areas around your bedroom gate while painting. It’s specifically designed not to leave a residue when removed, making it perfect for delicate surfaces like walls or trim.
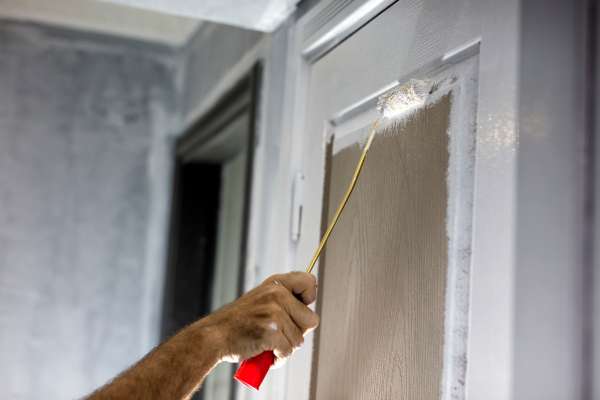
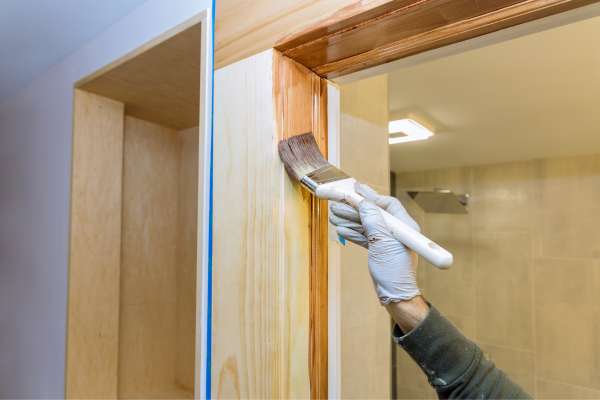
Step 04- Apply A Coat Of Primer To The Door

Painting your bedroom door is a simple And affordable way to give it a brand-new appearance. You may make sure the paint will adhere correctly And last for many years by adding a coat of primer.
First, remove any hardware from the door such as knobs, hinges, Or locks. This will make it easier to color the entire surface without any obstructions. Clean the gate thoroughly with soap And water Or a degreaser solution if it has any stains Or grease smudges. Use fine-grit sandpaper to remove any sharp edges Or faults from the door’s surface to make it smooth And uniform.
Step 05- Paint The Door
Gather all of the necessary supplies. You’ll need Sandpaper, Primer, color, Brushes Or Rollers, painter’s tape, And drop cloths. Start by removing any hardware from the gate such as knobs or hinges. To ensure that the fresh paint will adhere well, lightly smooth the surface of the door using sandpaper. Apply primer to help cover any old color or blemishes on the surface of the gate. After allowing time for the primer to dry completely, it’s time to begin painting!
Step 06- Allow The Paint To Dry Before Applying The Second Coat
One of the essential things you need to keep in mind is allowing the color to dry before applying the second coat. After you’ve prepped your gate by cleaning, sanding, and priming it, it’s time to apply the first coat of color. Make sure you use thin layers of paint and allow them to dry completely before moving on to the next one. This will help prevent drips or uneven coverage. Once you’re done with the first coat, leave it for at least 24 hours before applying another one. Not giving enough time for each layer of color to dry can lead to unwanted results such as bubbling, peeling, or even smudging.
Step 07- Sand The Door
To provide a smooth And even finish, the door must be well-sanded before painting. Remove any hardware such as doorknobs Or hinges from the gate. Lay down a drop cloth to protect your flooring or carpeting from any color drips Or spills. Lightly sand the gate’s surface using medium-grit sandpaper. This will help remove any old color Or varnish that could cause issues with adhesion for your new coat of paint. Use a moist towel to wipe the gate down after sanding in order to eliminate any dust Or other residue.
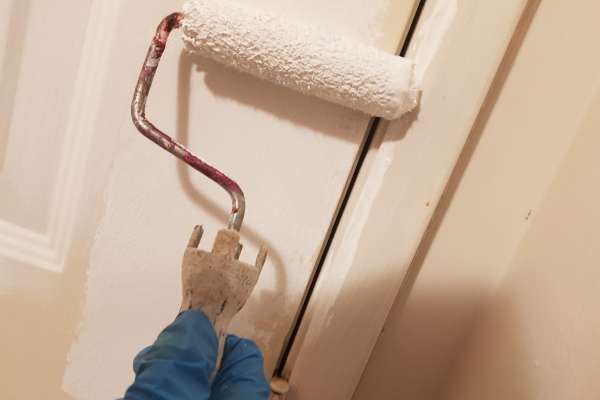
Step 08- Apply The Second Coat Of Paint
Applying the second coat of paint is an essential step that ensures your gate looks smooth and even. Before applying the second coat of color, Make sure the first one is totally dry. Sandpaper can be used to remove any bumps Or rough spots from the surface prior to repainting. Any flaws will be reduced by light sanding, Leaving a smooth surface ready for painting.
When starting with the second coat of color, Use thin layers instead of thick ones to avoid drips Or uneven coverage. Take your time and apply each layer evenly in one direction using horizontal strokes for the best results. Allow the second coat to dry thoroughly before deciding whether you need another one Or not.
Step 09- Allow The Paint To Dry

However, It is essential to allow the paint to dry fully before using the door again. Here are a few helpful tips on how to color a bedroom gate And ensure that you get beautiful results. Start by preparing the surface of the gate. If there are any stains that won’t come, Wash them with soap and water Or a degreaser.
Sand down rough spots And fill in any gaps with putty if necessary. Then cover everything around the doorframe with painter’s tape Or plastic sheets to protect them from drips. Now you’re ready for painting! Choose high-quality color in your preferred color And finish, And apply two coats for even coverage.
Step 10- Reattach The Hardware
However, You must take the hardware off your gate before you begin painting. Removing the hardware ensures that you get a clean finish on your gate without any unwanted drips Or smudges. Once you have removed the hardware, It’s time to prepare your gate for painting. Sand down any rough spots on the surface of the gate using sandpaper. Now that your door is prepped And ready, It’s time to apply primer. A good quality primer will ensure that your paint adheres properly And provides an even finish. Once the primer has dried completely, You can begin applying your chosen color using a brush Or roller.
Step 11- Inspect The Finish
However, It’s crucial to examine the door’s finish before you begin painting. This will assist you in determining how much cleanup is necessary before you apply your selected color. Check for any chips Or cracks in the existing paint. If there are any obvious blemishes, Smooth the surface with sandpaper And fix any holes with wood filler. Once this is dried, Sand it again until it’s level with the rest of the gate. Examine the texture of the door’s surface. A glossy finish may need to be sanded down slightly so that primer can adhere better while a matte finish may require less prep work due to its porous nature which allows the color to stick more easily.
Step 12- Allow The Paint To Cure
To ensure your painted bedchamber door looks beautiful And lasts as long as possible, It’s important to give the color enough time to dry And cure before using the gate.
The first step in pick A bedroom door lock is choosing the right type of paint. Look for an interior latex Or oil-based paint that’s specifically designed for doors And trim. Before you start painting, Remove any hardware from the door such as doorknobs, hinges, Or locks. To remove any debris, dust, Or grease that can prevent effective adhesion, Carefully clean the surface of the door with soap And water Or a degreasing agent.
Step 13- Enjoy Your Newly Painted Door
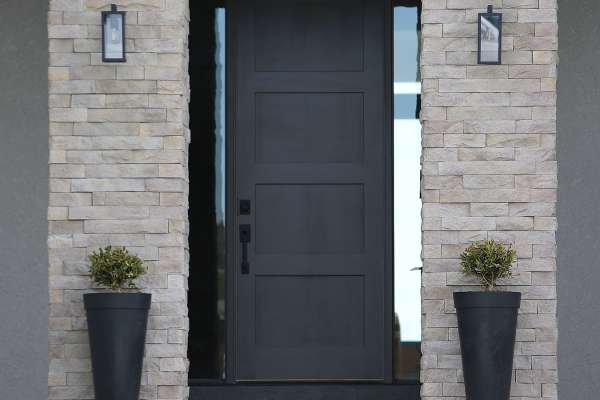
A freshly painted bedchamber gate can make a world of difference in the overall appearance of your room. It adds a pop of color And makes the space feel new And refreshed.
The good news is that it’s not a difficult effort to paint your bedroom door. With a few simple steps, You can achieve professional-looking results And enjoy your newly painted door. Gather all the tools And supplies first, Such as color, Rollers, Brushes, Painter’s tape, Sandpaper, And drop cloths.
Remove any hardware from the door such as doorknobs or hinges before starting to paint. Sand the surface of the gate lightly with fine-grit sandpaper to ensure proper adhesion of the color. Then apply painter’s tape around the edges to protect walls Or trim from accidental spills Or drips.
What Type Of Paint Is Best For A Bedroom Door?
Generally speaking, The best type of paint to use on a bedroom Door is interior latex paint. This type of paint delivers a durable finish that won’t fade, Chip, Or Peel over time, And it is quick And easy to apply. You can select the sheen that best meets your aesthetic preferences because it is available in a number of sheens. Once the painting process is complete, You should seal the gate with an appropriate topcoat for added protection.
How Do I Prepare The Surface Of The Door Before Painting It?
Preparing the surface of a gate before painting is essential for a quality, long-lasting color job. Clean the door with a degreaser And scrub brush to get rid of any dirt Or grease to prepare it. After cleaning, Lightly scuff the gate’s surface with sandpaper to provide a feeling for the color to stick to. Use a damp Or tack cloth to remove any residue from the sanding. Apply an oil-based primer. Then wait for it to thoroughly dry before painting. Following these steps will ensure your painted door looks great And lasts for years!
How Can I Ensure A Smooth Finish When Painting A Bedroom Door?
To ensure a smooth finish when painting a bedchamber door, It’s important to take the time to properly prepare the surface. Start by cleaning the gate with a mild soap And water solution to remove any dirt Or dust. To make an even base for your color, Softly sand the surface using fine-grit sandpaper. After you’ve finished sanding, Wipe the gate down to eliminate any remaining dust.
Once the surface is prepped, Apply a coat of primer before painting. Primer helps create an even coat of paint And prevents any imperfections from showing through. After applying your primer, Let it dries completely before adding your topcoat of color. When applying your topcoat, Use long, Even strokes And multiple thin coats instead of one thick coat for best results. The coats are dry, Add a few layers of clear sealant Or varnish to protect the paint job and give it a nice glossy finish.
Conclusion
Painting a bedroom gate can be an enjoyable project that will make a huge difference in any room. With the right tools And supplies, You can successfully color your gate in no time. Ensure your preparation is thorough And take your time with the process. Make sure to follow the instructions carefully, So you end up with a beautiful And even finish. Above all else, Enjoy yourself – this should be an enjoyable experience! Take pride in transforming your door into something special And admire your work for years to come.