
Connect Pax wardrobes together can create A cohesive, personalized storage solution. The process requires carefully aligning The wardrobe, attaching them using The appropriate brackets or screws, And ensuring they are securely fastened. Detailed instructions are usually included with your Pax wardrobe, but it’s essential to follow the specific steps, such As measuring the space, aligning the wardrobe, drilling pilot holes if necessary, and tightening the connections. With patience and attention to detail, Its wardrobe can be A rewarding DIY project that results In a custom storage solution tailored to your needs.
What Are Pax Wardrobes?
IKEA’s Pax line of adaptable wardrobe solutions Is a well-liked product. They are available in a variety of shapes, colors, And arrangements And are renowned For their versatility And flexibility, Because of their modular construction, users Can design the ideal wardrobe solution for their room, addressing all storage and design requirements.
Why Connect Pax Wardrobes?
Its wardrobe can enhance your storage space, create A unified appearance, And maximize functionality. By joining these units, You can design a large, continuous storage system that matches your interior design, caters To your unique storage needs, And takes advantage of Your room’s layout.
Understanding Your Pax Wardrobes
Before you begin connecting Pax closet, It is crucial to understand the specific model you have and the compatibility with other units. Analyzing the layout, design, and dimension of the wardrobe will guide you in determining how they can be connected. Familiarize yourself with the assembly instructions and consult IKEA’s support if needed to avoid any mishaps.
Types Of Pax Wardrobes
Pax closet come In various types, including sliding doors, hinged doors, And different internal configurations. They are available In different widths, heights, and finishes, allowing for numerous customization options. Knowing the types and their specific features helps In choosing the right ones to connect, ensuring they align And complement each other.
Required Tools And Materials
To connect Pax wardrobes, you’ll need some essential tools and materials together. These generally include a drill, screws, brackets (if not included with your wardrobe), a measuring tape, a level, and possibly wall anchors if you’re securing the unit to a wall. It is vital to follow the provided instructions or consult IKEA’s guidelines to use the correct tools and materials for your specific Pax models.
Step-By-Step Guide To Connecting Pax Wardrobes
Step 1: Planning And Preparation

Before the wardrobe, you need to plan the layout. Determine where you want the wardrobes to be placed, ensuring there is sufficient space and the floor is level. Gather All necessary tools, such as a drill, screws, brackets, a measuring tape, and a level. Review the instruction manuals for any specific requirements or recommendations.
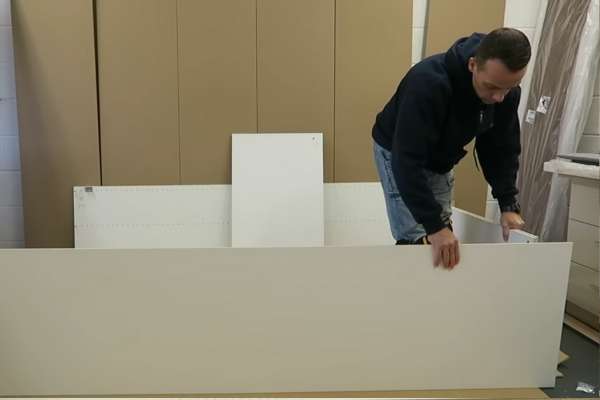
Step 2: Assembling The Wardrobes Individually

Start by assembling each Pax wardrobe separately following IKEA’s detailed instructions. This step might require additional hands to make sure everything is aligned correctly. Ensure that the units are properly assembled, as any misalignment can cause problems when connecting them.
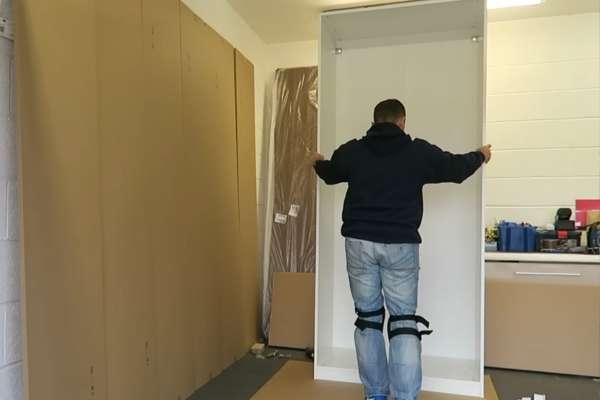
Step 3: Aligning The Wardrobes
Place the assembled wardrobe in the desired location. Use a level to ensure that they are perfectly aligned vertically and horizontally, You may need to adjust the feet or use shims if the floor is uneven. The alignment is crucial, As it affects how well the closet connects and their overall appearance.
Step 4: Securing The Wardrobes Together
Once aligned, you’ll need to secure the wardrobes together. Depending on the specific Pax model, this might involve using special brackets or screws provided by IKEA. Drill pilot holes if necessary and then fasten the wardrobe together, following the instructions closely. Be cautious not to over-tighten the screws, as it might cause damage. Optionally, you can also secure the wardrobes to the wall for added stability.
Tips and Precautions:
- Read and follow the instructions carefully.
- Use the correct tools and hardware as specified.
- Ensure the alignment is perfect before securing the wardrobe together.
- Avoid over-tightening screws, which can cause damage.
- Consider the weight and stability, especially if connecting multiple units.
Do I Need Professional Help For Connecting Pax Wardrobe?
While wardrobe can be done as a DIY project, it may not be suitable for everyone. Assess your skills and comfort level with the tools and tasks required. If You feel unsure, seeking professional help can be a wise choice. Professionals have the experience and expertise to handle the project efficiently, ensuring build the wardrobes are connected safely and accurately.
Will Connecting Wardrobes Void The Warranty?
Before proceeding with connecting the Pax wardrobe, it’s essential to review the warranty information. Some modifications Or improper installations may void the warranty. Always follow The manufacturer’s guidelines And instructions for connecting the wardrobe. If in doubt, contact IKEA’s customer service To clarify how connecting the wardrobes might impact the warranty.
The Final Thoughts
Connect Pax wardrobes can be A rewarding project that adds a personalized touch to your space together. However, It requires careful consideration, planning, And execution. Assess whether professional help Is needed, understand the implications On the warranty, and follow the provided tips And precautions, So, You’ll create a secure and visually appealing wardrobe system that meets your needs without compromising the integrity Or warranty of the products. Always refer to IKEA’s specific instructions And support for The best results.