Walls—often silent sentinels guarding the heart of a home—are more than mere structures. They are blank canvases, aching for personal expression. When you hang multiple pictures on a wall, you’re not just decorating; you’re curating a visual narrative, a journey that speaks of memories, moments, and dreams. Whether your wall becomes a gallery of cherished family portraits, bold abstract art, or a mix of eclectic pieces, this arrangement transforms any empty space into a storybook. While it may seem overwhelming at first, the right approach combined with a few creative tricks can empower even the most inexperienced decorator. This guide will walk you through the steps on how to hang multiple pictures on a wall, bringing your walls to life with personality and charm.
Why Hanging Multiple Pictures on a Wall Adds Character to Any Room
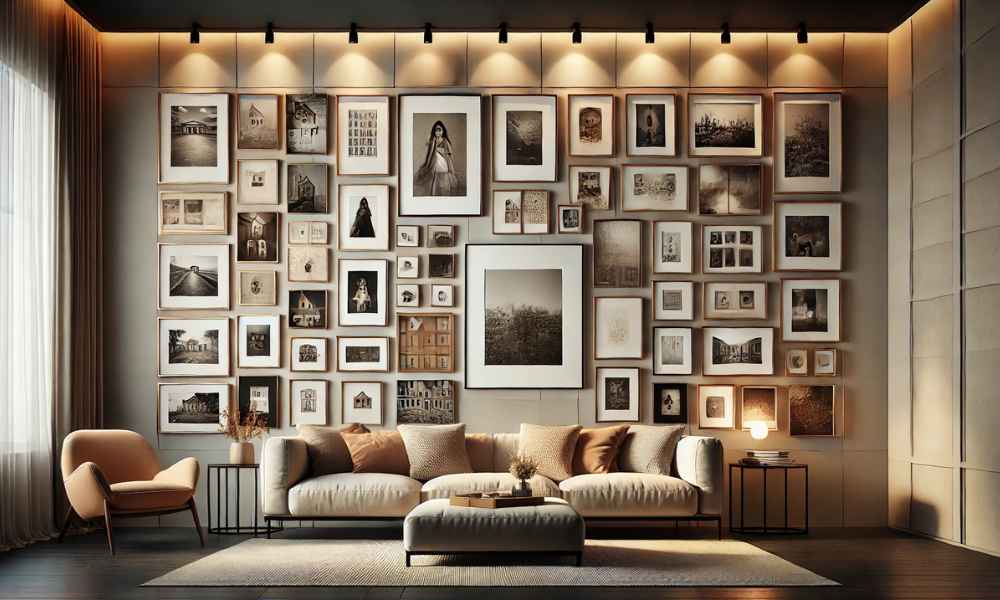
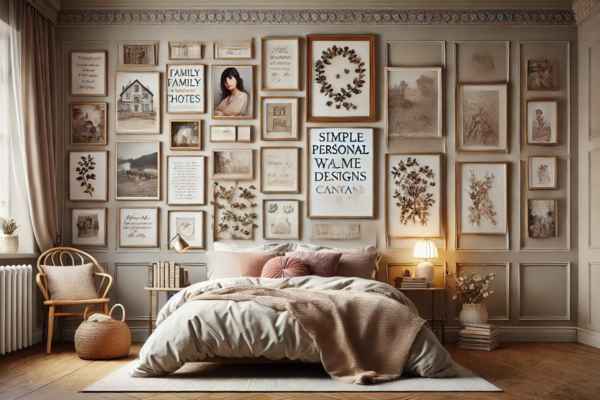
A single picture can speak a thousand words. Imagine the chorus when you hang multiple pictures on a wall, creating an intricate symphony of memories, emotions, and artistry. It’s not merely decoration—it’s visual storytelling. Each frame whispers a narrative, from the laughter captured on a family vacation to the quiet elegance of an abstract piece. With each picture, you breathe new life into the room, adding warmth, depth, and a touch of your own identity. Different textures, colors, and sizes weave together to form a mosaic that not only catches the eye but also engages the soul. It’s like wrapping your home in a cozy, familiar quilt made from the fabric of your experiences.
Choosing the Right Wall for Your Picture Display
Not all walls are created equal, and choosing the right one is essential. Some walls are meant to be quiet; others beg for attention. Look around your space and identify where your eyes naturally gravitate—a blank stretch above the sofa, perhaps, or a hallway crying out for some visual intrigue. Think of the room’s layout, the flow of natural light. A picture’s brilliance can be muted by too much glare or hidden in a shadowy corner. When it comes to size, scale is key. Expansive walls can carry bold, large displays, while smaller walls are better suited for intimate arrangements. The perfect wall is one that lets your pictures shine without overwhelming the space.
Gathering the Tools You’ll Need for Hanging Pictures
No artist begins without their tools, and you, too, will need a few essentials to ensure a flawless execution. Arm yourself with a tape measure, a pencil, a level, and either a hammer or drill—depending on the weight of your frames. Decide whether you’ll use nails, hooks, or adhesive strips. Lighter frames can rest easily on adhesive strips, saving your walls from unnecessary punctures, while heavier pieces may demand nails or hooks. Picture hanging kits, equipped with a variety of hanging solutions, can be a lifesaver. With the right tools, you’ll not only ensure stability but also precision. After all, nothing ruins the look of a perfect gallery wall like crooked or misaligned frames.
Deciding on a Layout: Creative Picture Arrangements
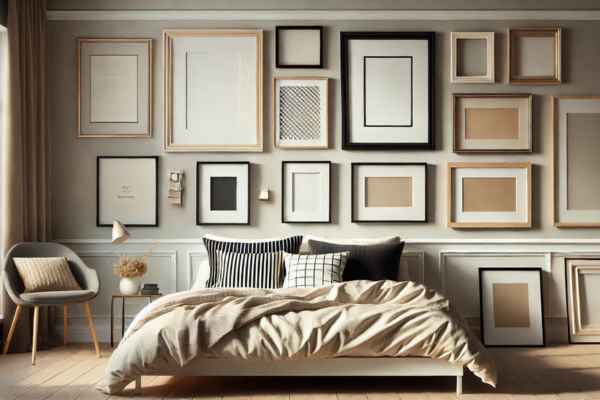
Before you even think about lifting that hammer, stop. Think. Picture the arrangement in your mind’s eye. Symmetry can lend a classic, orderly aesthetic, while an asymmetrical layout brings spontaneity and energy. Will you create a formal grid, or are you leaning toward the playful charm of a gallery wall? Let the room’s vibe guide you. For spaces that demand structure, a linear arrangement offers harmony. If you crave a more eclectic, organic feel, embrace a gallery wall, where different frames and styles can mingle freely. Visualize the arrangement by laying the pictures on the floor first, experimenting with spacing and alignment until you find the arrangement that feels just right.
Selecting the Perfect Pictures for Your Wall
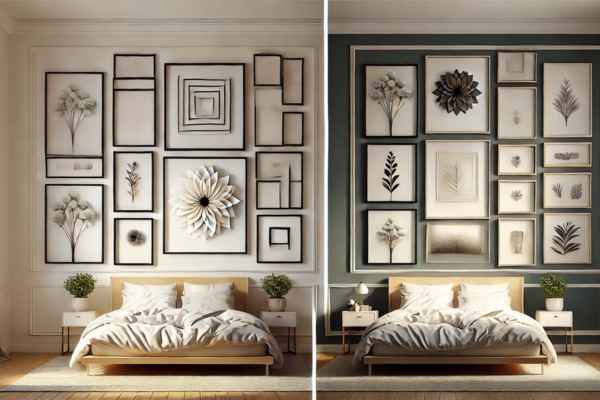
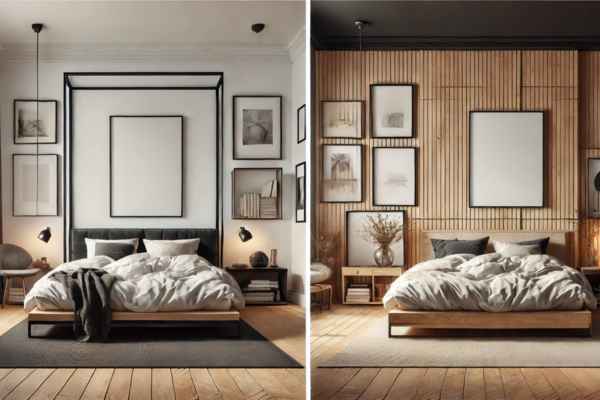
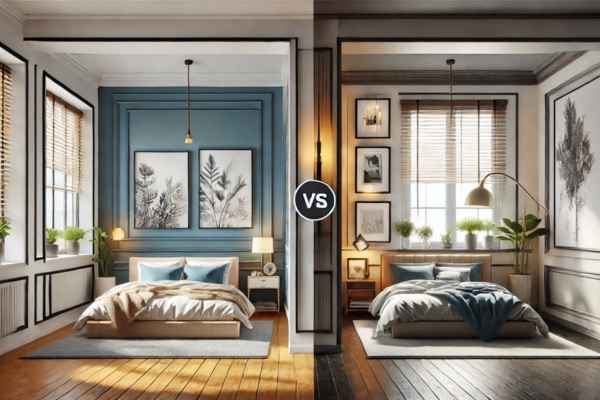
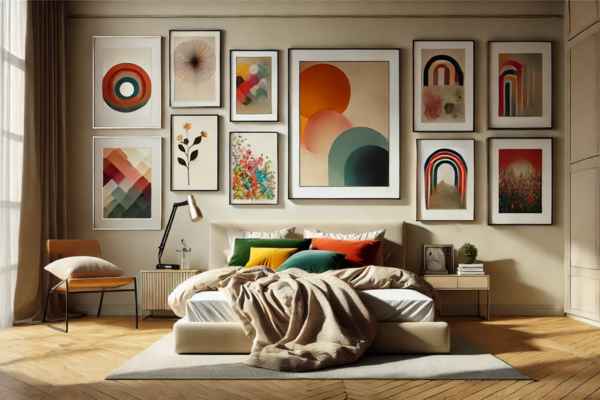
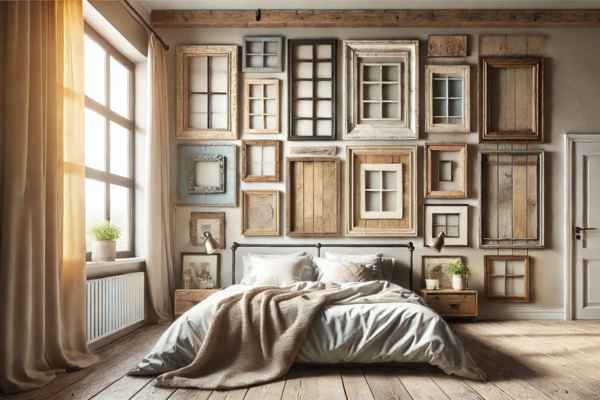
What you choose to hang on your wall ultimately defines the mood of the room. Will your display be a shrine of family memories, a bold showcase of modern art, or a delicate dance of both? Perhaps it’s a tapestry of your life experiences, moments frozen in time. Consider the room’s color scheme when selecting pictures. Do you want bold, contrasting hues that pop against neutral walls, or a more subtle, cohesive tone that blends seamlessly with your décor? Frame styles are just as crucial; mix metallic finishes with wooden frames for texture, or keep things uniform for a more polished look. Each picture is a brushstroke in the overall masterpiece.
Balancing Proportions: How to Match Frame Sizes to Wall Space
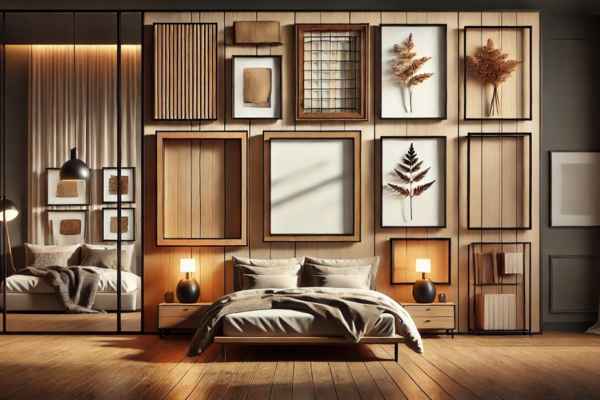
Balance is everything. You don’t want a wall that feels too heavy in one area and sparse in another. Larger frames provide a visual anchor, grounding the display, while smaller frames serve as accents, adding interest without overwhelming. If you’re working with a large, open wall, don’t shy away from mixing sizes—this will create depth and intrigue. But be cautious: too many small frames in one area can create visual noise, leaving the larger wall space feeling unfinished. Consider using matting within frames to make smaller pieces feel more substantial, and cluster smaller frames together to create a cohesive look. The goal is harmony, not clutter.
Measuring and Marking Your Wall for Precision
A well-measured wall is the secret to a professional finish. Start by measuring the full span of the wall and dividing it into sections that correspond to your planned layout. Mark the spots where each frame will go, using a pencil to make faint, erasable marks. Keep a level handy to ensure straight lines—there’s nothing worse than spending time perfecting your wall, only to realize that everything is just a little bit off. Mark the top of each frame and measure from the top down to the hanging point. Consistency is key—accurate measurements prevent gaps that are too wide or too narrow, keeping your arrangement polished and precise.
How to Hang Pictures Without Damaging the Wall
Picture-hanging perfection doesn’t need to come at the cost of your walls. Fortunately, there are methods that minimize damage. For lighter frames, adhesive strips offer a hassle-free solution—no holes, no mess. They’re also ideal for renters who want flexibility. Heavier frames may require more traditional tools like nails or hooks. For extra-large pieces, use a stud finder to locate the wall’s support beams. This ensures that your masterpiece stays secure. If you’re concerned about unsightly holes, opt for smaller nails or consider a picture rail system, which allows for easy adjustments without leaving marks. With the right preparation, your walls can stay as flawless as your display.
How High Should You Hang Pictures?
Getting the height right can transform a display from awkward to awe-inspiring. A general guideline is to hang pictures at eye level—usually around 57 to 60 inches from the floor to the center of the artwork. Of course, this depends on the height of your ceilings and the layout of your furniture. In a living room, you’ll want the pictures to be viewable from a seated position. Hanging pictures too high or too low can throw off the balance of the entire room. If you’re arranging pictures above a sofa or bed, leave at least 6 to 12 inches of space between the top of the furniture and the bottom of the frame.
Hanging Pictures Over Furniture

Hanging pictures over furniture, scale and proportion become even more critical. You don’t want a tiny frame to look lost above a grand, oversized sofa. Instead, opt for larger frames or a collection of frames that span at least two-thirds of the width of the furniture beneath them. This creates balance and prevents the arrangement from feeling top-heavy. Ensure there’s enough breathing room between the furniture and the bottom edge of the frames—about 8 to 10 inches is usually ideal. Whether it’s a bold statement piece or a well-organized gallery, your pictures should complement the furniture, not compete with it.
Tips for Creating a Gallery Wall

A gallery wall is your personal art exhibit, a space where you can let your creativity run free. Start by choosing a theme—perhaps black-and-white photography, vibrant prints, or a mix of family photos and artwork. Variety is key, but so is consistency. While you can mix frame styles, there should be a common thread, whether it’s color, texture, or subject matter, that ties everything together. Spacing is just as important as the pictures themselves—too close together and the wall looks cluttered, too far apart and it feels disjointed. Use a paper template or painter’s tape to map out the layout before making any permanent decisions.
Adding Depth and Interest to Your Picture Wall
Your wall doesn’t have to be a flat display of frames. Add depth by incorporating floating shelves or picture ledges, where frames can overlap or sit alongside decorative objects like vases, candles, or plants. The mixture of framed art with three-dimensional objects creates a more dynamic, layered look. Mirrors are another great addition—they reflect light, making the space feel larger and brighter. A picture wall is not just a collection of images; it’s an opportunity to create an interactive, evolving space that catches the eye and invites curiosity.
What to Do After Hanging: Final Touches and Adjustments
Once all the pictures are in place, step back and take in the full effect. Does the arrangement feel balanced? Do the colors and sizes flow harmoniously? If something feels off, don’t be afraid to adjust. Sometimes frames can shift slightly after being hung, so check for crooked edges and tweak as necessary. Over time, you may want to swap out certain pictures, add new ones, or even rearrange the entire wall. This wall isn’t static—it’s an evolving expression of your life, a living gallery that changes with you.
Conclusion
The process of hanging multiple pictures on a wall is an art form, but one that anyone can master with patience and planning. By carefully choosing your frames, considering the layout, and using the right tools, you can create a display that enhances the beauty and character of your home. What once felt like an empty, impersonal space can become a gallery of stories, emotions, and creativity. It’s not just about filling a wall; it’s about adding soul to your home, one picture at a time.