Wall sconces are a fantastic way to add style, warmth, and functionality to any space. They can enhance the ambiance of a room, provide focused lighting, and even act as decorative art pieces. The good news? You don’t need to be an electrician to enjoy the benefits of wall sconces. If the idea of dealing with wiring sounds intimidating, there’s a simple solution: wireless wall sconce. This guide will walk you through how to install wall sconce without wiring, making it an easy and stress-free project, even for beginners.
Understanding Wireless Wall Sconces
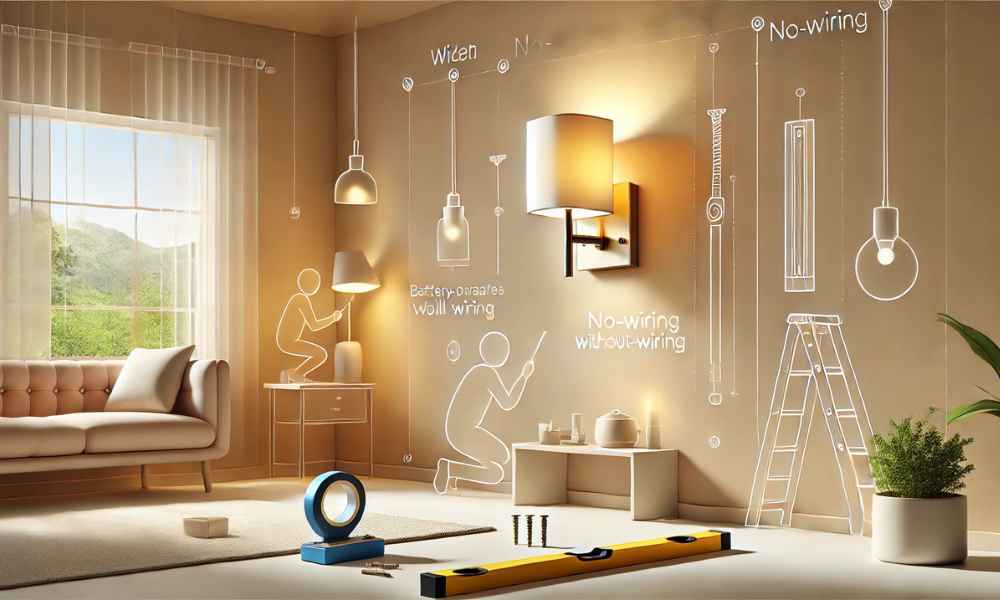
Wireless wall sconces are lighting fixtures that don’t require hardwiring into your home’s electrical system. Instead, they operate using battery power or plug directly into an outlet. Some models even come with rechargeable options or smart features compatible with voice assistants. The beauty of wireless sconces lies in their flexibility—you can place them anywhere without worrying about electrical outlets or complex wiring setups.
Preparation Before Installation
Before diving into the installation process, a little preparation goes a long way. Start by selecting the right spot for your sconces. Consider areas where additional lighting is needed, such as hallways, bedrooms, or reading nooks. Make sure the surface is clean and smooth for secure mounting. Gather all necessary tools and materials, including a measuring tape, pencil, level, screws, anchors, and a screwdriver. Having everything ready will make the process smoother and more efficient.
Step-by-Step Guide: How to Install Wall Sconces Without Wiring
Installing wall sconce without wiring is simpler than you might think. Follow these steps to achieve professional-looking results without the hassle of electrical work.
Step 1: Gather Your Tools and Materials

First, assemble all the tools and materials you’ll need for the installation. This typically includes the wall sconce fixture, mounting brackets, screws, wall anchors, a screwdriver, a measuring tape, a level, and a pencil for marking. If your sconce is battery-operated, ensure you have fresh batteries ready.
Step 2: Mounting the Sconce Bracket Securely
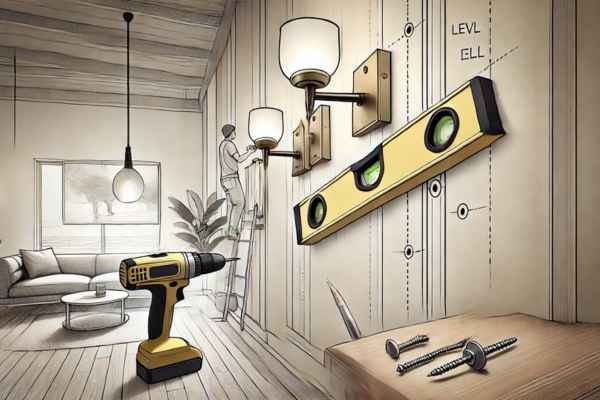
Begin by holding the mounting bracket against the wall where you want your sconce to be installed. Use a level to ensure it’s perfectly straight. Mark the screw holes with a pencil. If you’re installing drywall, use wall anchors to provide extra support. Drill pilot holes if necessary, then attach the bracket securely with screws.
Step 3: Attaching the Sconce Fixture with Ease
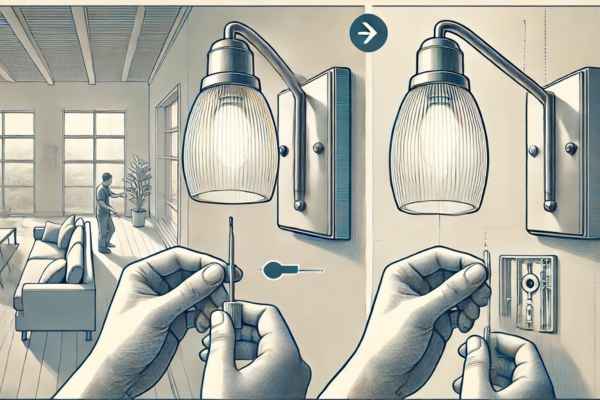
Once the bracket is firmly in place, it’s time to attach the sconce fixture. Align the fixture with the mounting bracket according to the manufacturer’s instructions. Most wireless sconces have a simple hook or clip mechanism that allows the fixture to snap into place effortlessly. Double-check that it’s secure and stable.
Step 4: Inserting and Securing the Light Source
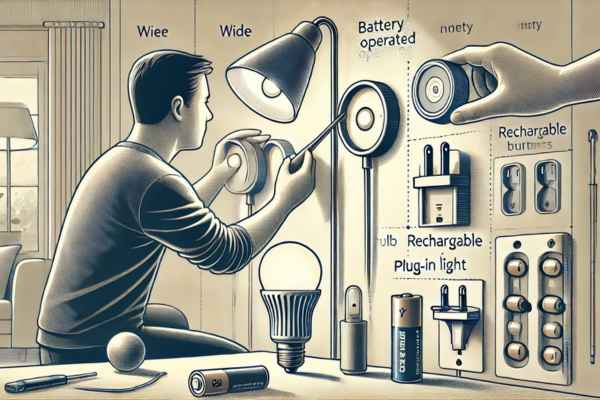
Insert the light source, whether it’s a battery-operated LED puck light, a rechargeable bulb, or a plug-in light. Make sure it fits snugly and is positioned correctly for optimal lighting. If using batteries, insert them according to the polarity markings to ensure proper function.
Step 5: Testing and Adjusting the Light

With everything in place, it’s time to test your new wall sconce. Turn it on to check the brightness and positioning. Adjust the angle or fixture placement if needed to achieve the desired lighting effect. Make sure all components are securely fastened to prevent any wobbling or shifting over time.
Creative Ideas for Using Wall Sconces Without Wiring
Wireless wall sconces aren’t just for traditional lighting purposes. Get creative with their placement and functionality. Use them to brighten up dark hallways, add cozy vibes to your bedroom, or create an inviting reading nook. Highlight artwork, bookshelves, or architectural features without worrying about outlet locations. You can even use wireless sconces outdoors in covered areas to enhance your patio or porch ambiance.
Troubleshooting Common Issues
Sometimes, wireless wall sconce may not function as expected. If your sconce doesn’t turn on, check the battery installation and ensure they are charged. For dim or flickering lights, consider replacing the batteries or the bulb. If the fixture feels loose, double-check the mounting bracket and tighten any screws to secure it.
Maintenance Tips to Keep Your Sconces Shining Bright
Maintaining your wireless sconces is easy with a few simple steps. Regularly dust the fixtures to keep them looking fresh. Clean the light covers with a soft, damp cloth to avoid smudges. Replace batteries promptly when the light dims to maintain optimal brightness. If your sconce has a rechargeable battery, charge it fully to extend its lifespan.
Can I Use Smart Bulbs with Wireless Wall Sconces?
Yes, you can use smart bulbs with many wireless wall sconce, especially plug-in models. Ensure the sconce’s design can accommodate the smart bulb’s size and wattage. Smart bulbs add convenience with features like remote control, scheduling, and dimming via mobile apps or voice assistants.
How Long Do Battery-Operated Wall Sconces Last?
The lifespan of battery-operated wall sconce depends on the type of batteries used and the frequency of use. On average, high-quality LED sconces with fresh batteries can last anywhere from 20 to 100 hours. Rechargeable models offer longer-term use but require regular charging.
Are Wireless Wall Sconces Safe for Outdoor Use?
While many wireless wall sconces are designed for indoor use, some models are rated for outdoor environments. If you plan to use them outside, choose sconces with weather-resistant features. Install them in covered areas to protect against direct exposure to rain or extreme conditions.
Conclusion
Wireless wall sconces are a versatile and stylish lighting solution that can transform any space without the hassle of wiring. With easy installation, minimal maintenance, and creative placement options, they offer both functionality and aesthetic appeal. Whether you’re brightening up a cozy corner or enhancing your outdoor decor, wall sconce without wiring provide a simple, elegant solution.